This post got delayed very long, I’ve already create the video since Februari 22 2011 but still have no time to publish. I just curious on how Debian and FreeBSD work in one place called Debian KFreBSD and as always everything just start from installation step and that is the main reason why I write this post.
Lets get start!
Get latest version of Debian KFreeBSD and do installation with VMWare.
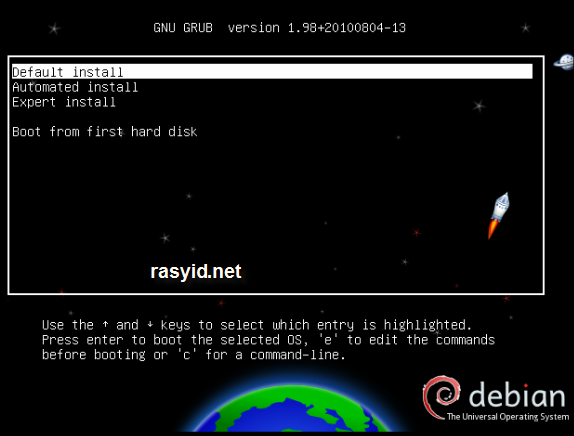
Choose Default Install.
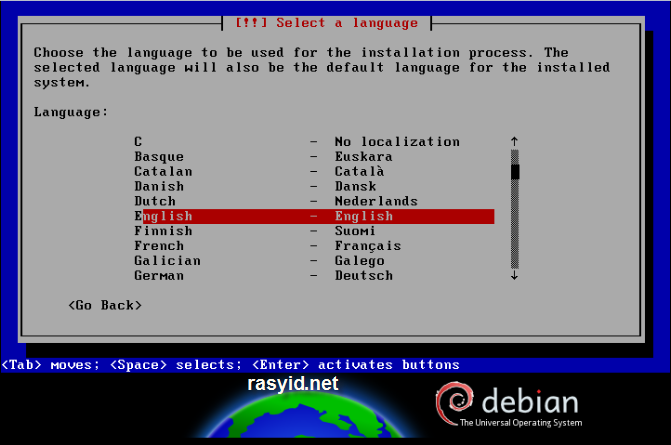
Choose English as installation language.
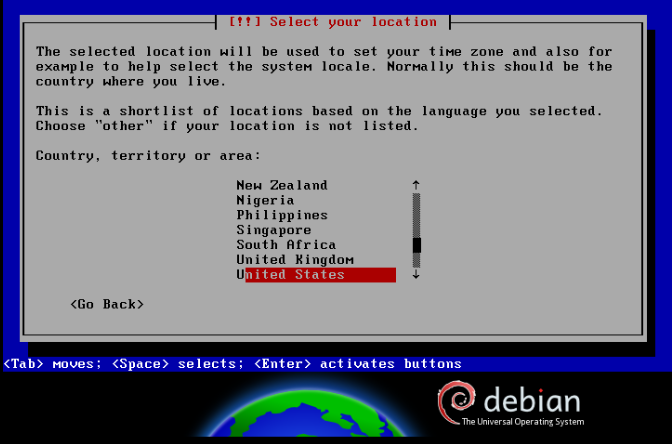
Select Location : I choose United States.
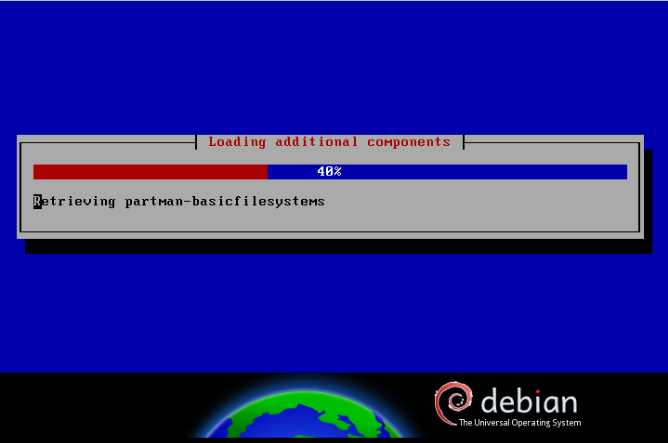
Installer will load everything needed.
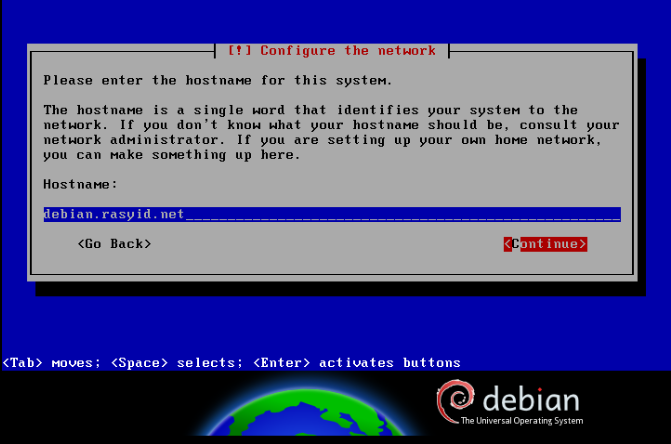
Configure network
Enter Hostname and since I have DHCP server, the ip address configure automatically.
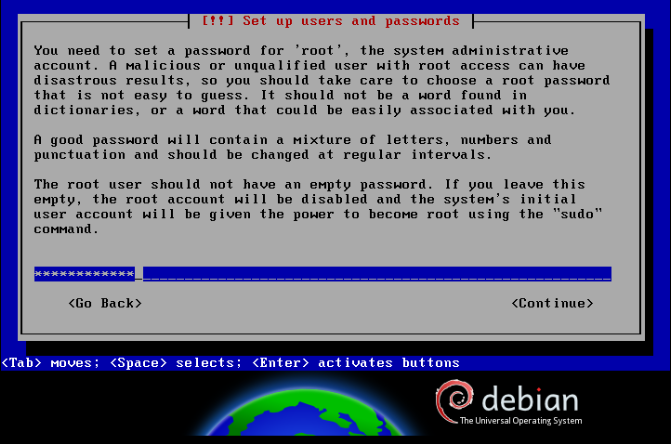
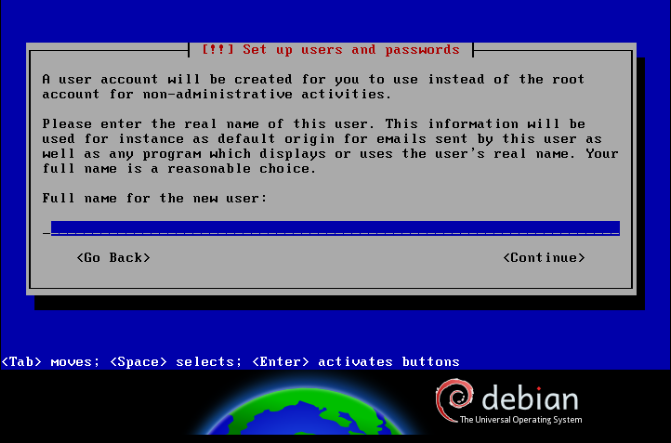
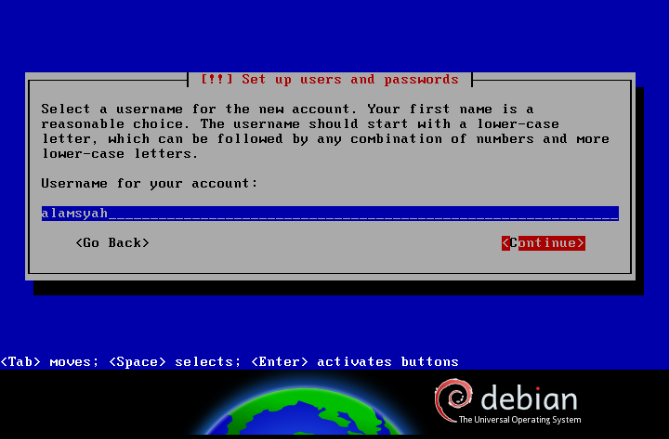
Set up users and password.
Enter full name
enter username
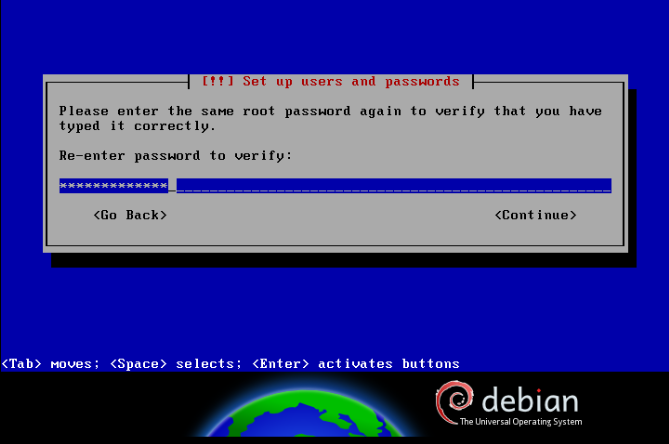
enter password twice
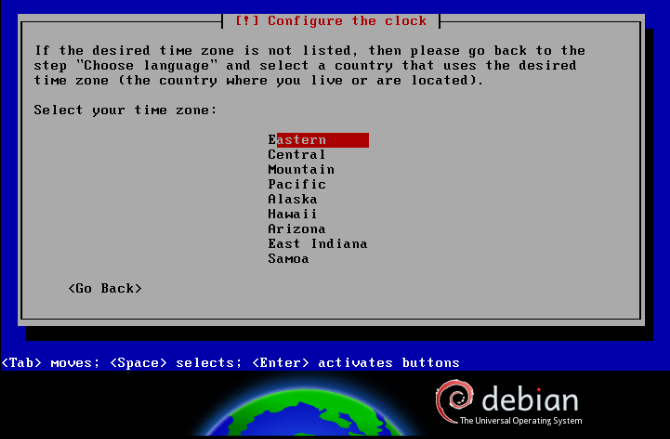
Configure the clock by pick time zone.
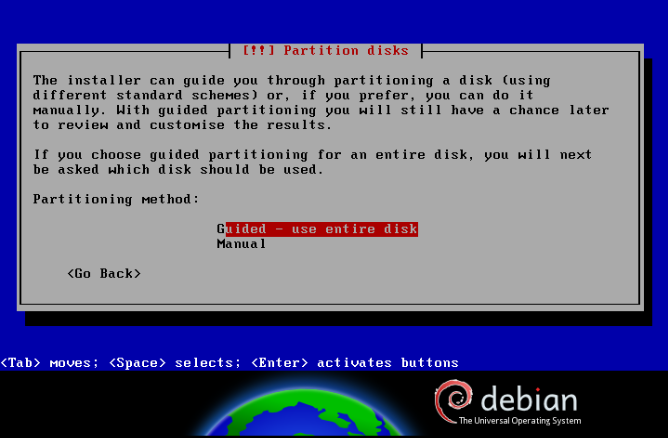
Partition Disks
I choose the easiest one : guided
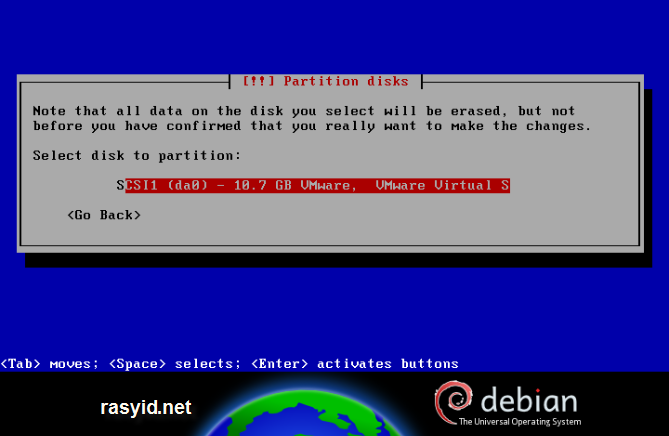
Select disk to partition
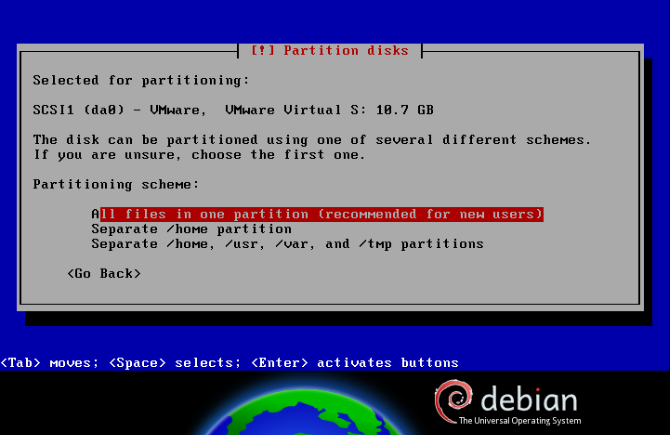
Choose : All files in one partition for partition scheme.
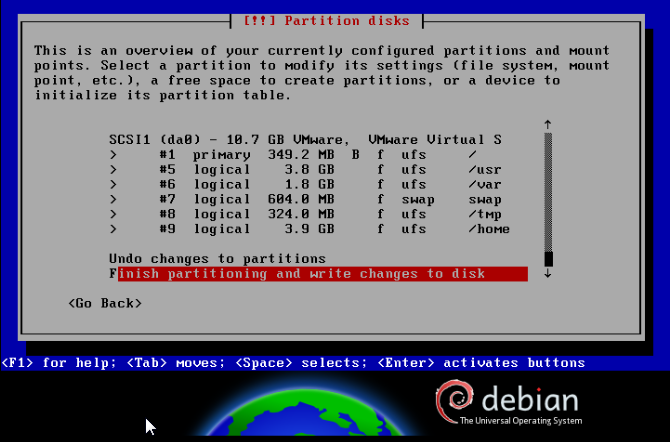
Finish partitioning and write changes to disk.
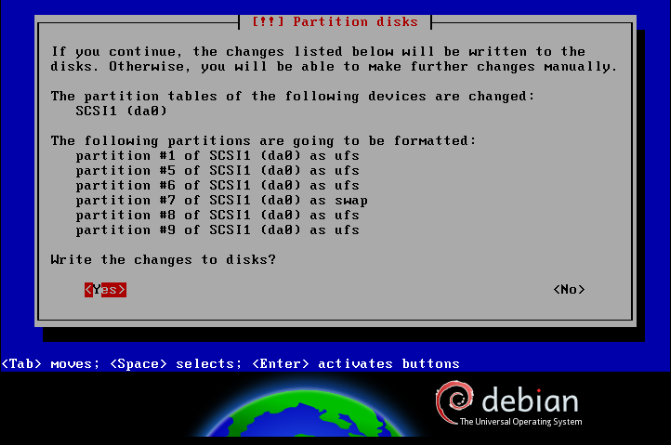
Write the changes to disk.
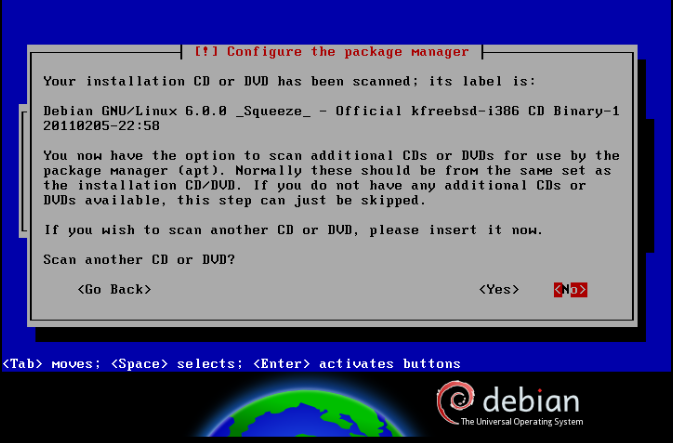
Scan CD/ DVD.I choose No since I only have one iso file. (equal to one CD).
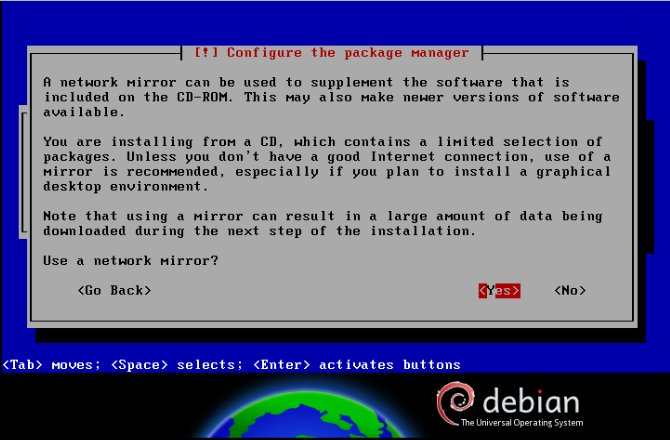
Choose Yes for network mirror as I count on my internet connection for install process.
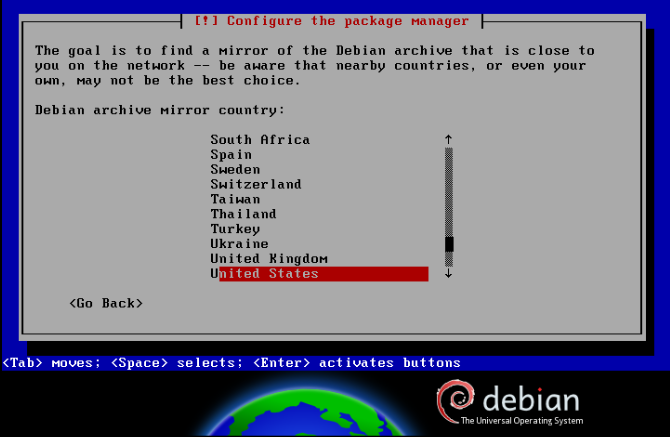
Choose United States as mirror country.
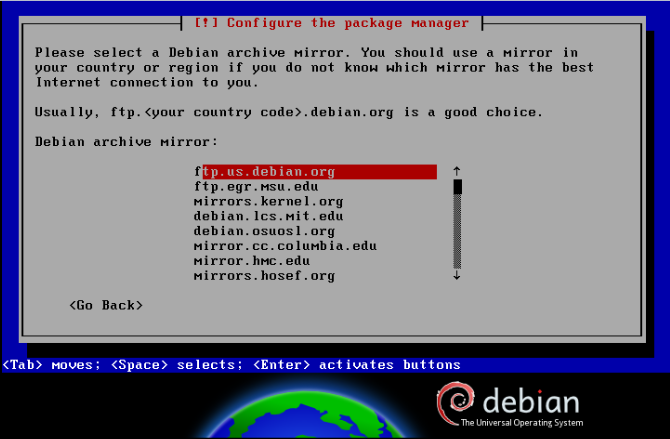
Select one archive mirror.
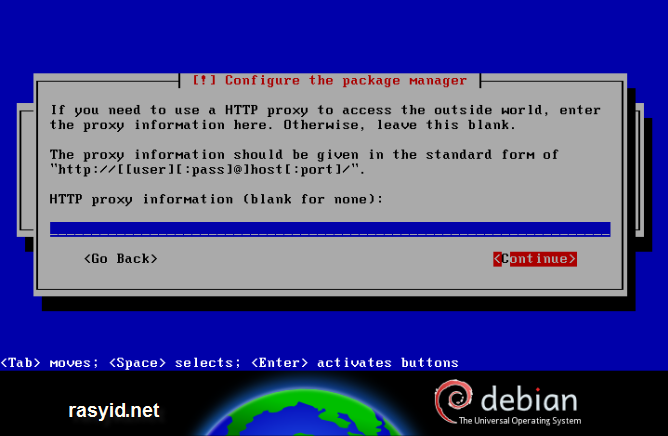
Configure HTTP proxy information
I leave it blank since I don’t have proxy.
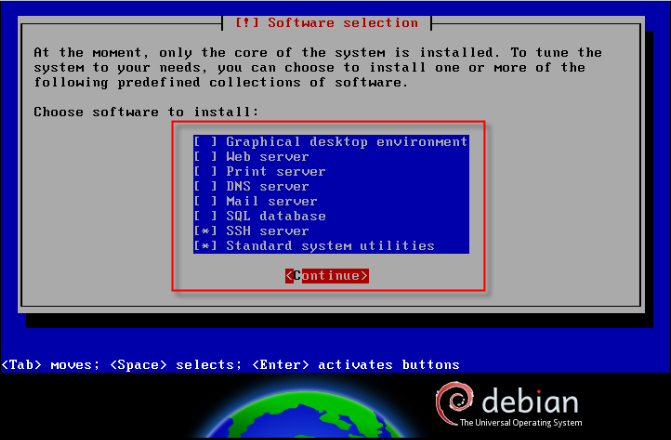
Choose software to install, I only pick SSH server and Standard system utilities for other experiment session.
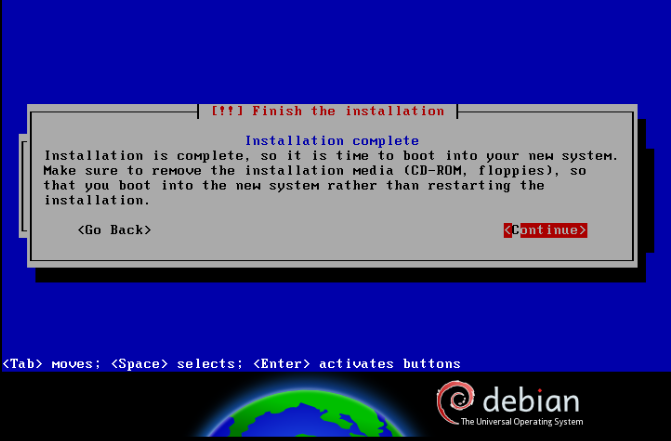
Installer will copy everything and install required files according to above.
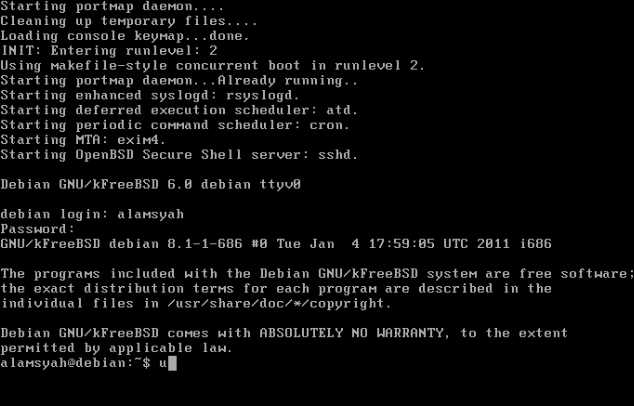
When system restart I enter username and password.
Seem great, I can see I’m in the right prompt.
I’ll continue my experiment in other time, see you.
